
- Home »
- Catalog »
- Suspension Components »
- Shocks, Struts, Coil-Overs & Components »
- Shocks
PitStopUSA.com - Shocks
Select a Sub-Category


Popular Brands:
-
AFCO Racing Products
-
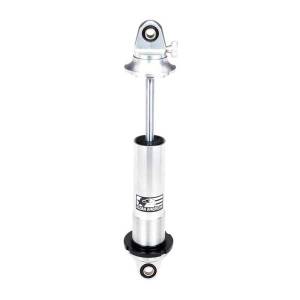
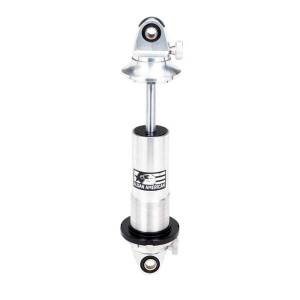
Aldan American
-
Belltech
-
Bilstein Shocks
-
Chassis Engineering
-
Competition Engineering
-
Daystar
-
Eibach
-
FOX Factory
-
Genesis Racing Shocks
-
Hotchkis Performance
-
Integra Racing Shocks and Springs
-
Koni Shocks
-
KYB Shocks & Struts
-
Lakewood
-
Penske Racing Shocks
-
Pro Shocks
-
QA1
-
Rancho
-
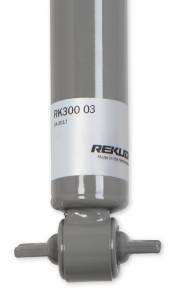
Rekudo
-
RideTech
-
Roush Performance Parts
-
Scott Drake
-
Skyjacker
-
Strange Engineering
More About Shocks
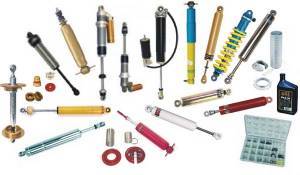
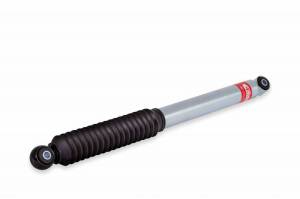
Whether you need shocks and struts to get you to the finish line at the track or to add superior handling for your street machine, truck, or off road vehicle, Pit Stop USA has the shocks and struts you need. Pit Stop USA has a huge selection of monotube, twin-tube, air shocks and more. We feature biggest brands in racing and street performance shocks and struts including AFCO Racing, Pro Shocks, Strange Engineering, Bilstein, Koni, Hotchkis, RideTech, Competition Engineering, Lakewood, QA1, Daystar, Fox Factory, Genesis Racing Shocks, Integra Shocks, JRi Shocks, KYB Shocks, Penske Racing Shocks, and more. Or complete your truck suspension with help from Belltech, Skyjacker, Rancho and more. From high performance shocks to adjustable racing shocks Pit Stop USA has you covered with the latest shocks and struts at low everyday prices! Effectively transferring weight is critical to getting traction at the track. Specially designed racing shocks come in a variety of configurations, including adjustable designs that help you fine tune your race car to changing track conditions.
